Hello Bee Arty Fans
Welcome back to part 2 of my DT post using paper from Road Trip Collection to decorate the folio we made a couple weeks ago.
Firstly we will make a pocket to go on one one side of the small envelope.
I cut out two pieces of paper 9x10cm - I used my corner rounder on the top righthand corner that will be the base, then cut a diagonal on the top paper.
Ink all around edges before gluing left, bottom and half right side so it makes a pocket.
Fussy cut and ink caravan and word then glue.
Put to the side while we make next piece of ephemera
This 3 pocket ephemera will go on the envelope on the left hand side (see below)
Cut a base from the collection that will leave 2mm around edges showing when glued down.
Then cut out three rectangles
I hold all three rectangles together and use my circle punch to punch out a opening that a tag will easily slide in and out. I also had a scrap leftover strip that I used... I inked all pieces and glued down strip and three sides of the rectangles
Next I measured and cut out 3 tags
Glue whole piece onto front of envelope
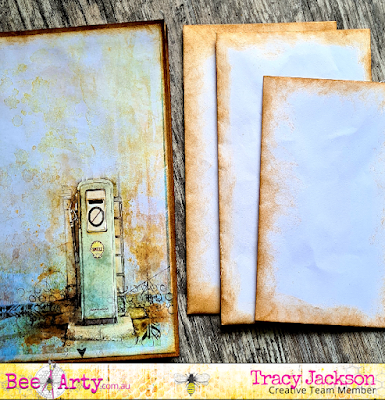
You can also see in photo below one of the other envelopes I decorated. This was simply a piece of paper from collection I measured the same width and punched a half circle in top to make a pocket
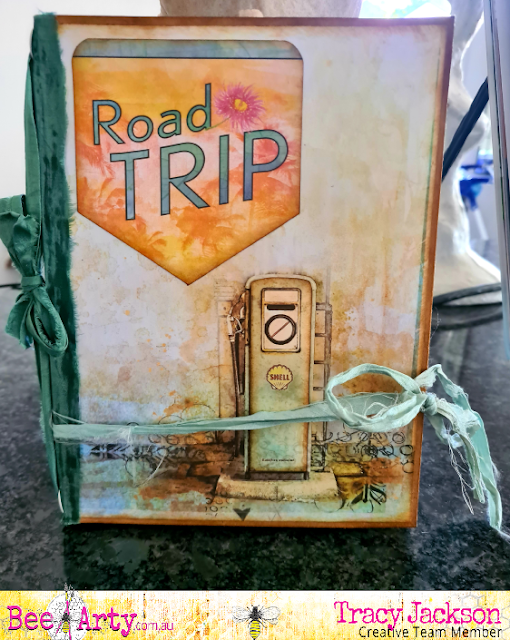
Adding a signature..... I wanted to add a signature so I glued a strip of sari silk down the outside, Once dry I punched a hole in spine about1cm top and bottom and put in an eyelet. I then threaded another piece of sari silk though both eyelets and tied in a bow on the outside.
I then prepared a signature by cutting a piece of collection paper as the signature cover and back and filled with 6 pieces of cream writing paper and folded all in half, I also used corner rounder on all signature paper I slotted under silk so it sits in like a booklet and can be replaced when needed
Below are close ups of each decorated envelopes
Front
I rally enjoyed making this folio, I hope I have inspired you to have a go.
Until next time, stay safe..
Happy crafting


